How to operate after the manual soap into the mold
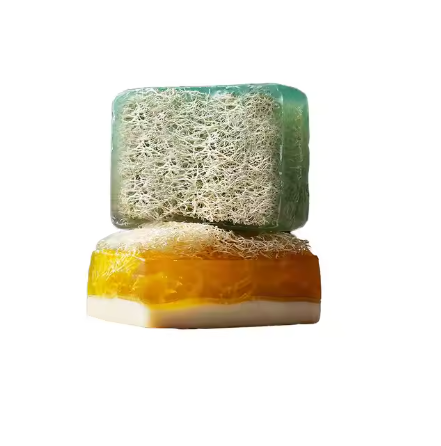
Handmade Soap has been very popular among consumers in recent years, not only because it is handmade, but also because of the many benefits of using handmade soap.Many people like to DIY handmade soap at home, so how to operate after entering the mold? Next I will share this article with you.
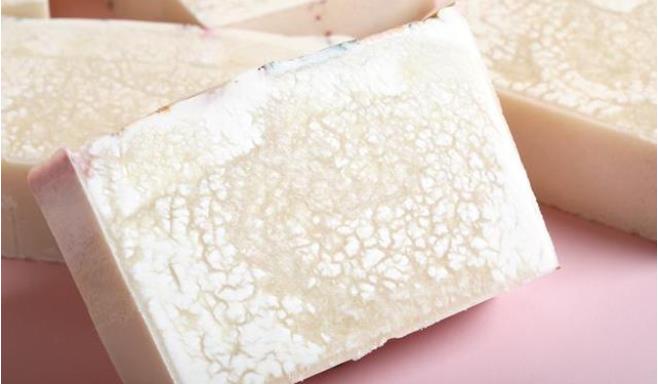
Why Handmade Soap?
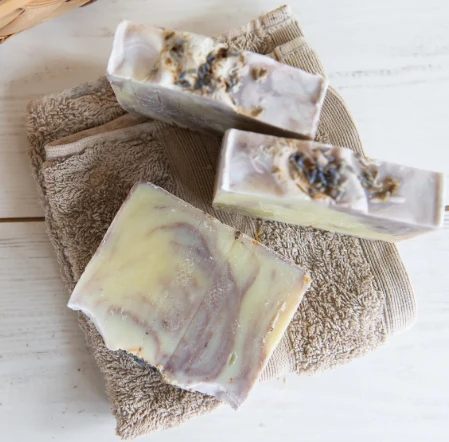
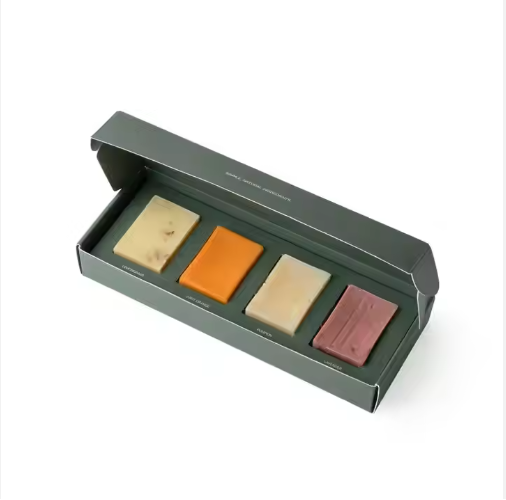
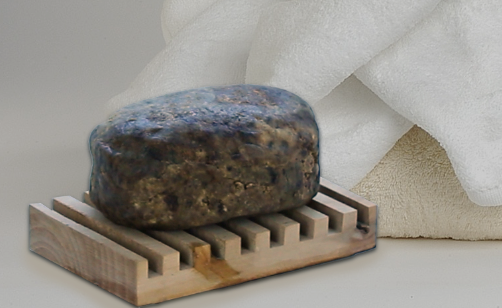
Also known as “homemade soap”, handmade soap is soap in its most purest form as intended by its creator many thousand of years ago. Handmade soap can be made from scratch by the cold or hot process methods, using quality vegetable oils and natural ingredients.
Specialized oils, nut butters or seed extract are added to bring the desired qualities to the finished bar. Fragrance oils or plant-based essential oils are added for scented. Botanicals, herbs, spices or other natural ingredients are used to achieve the color or texture required.
Making Handmade Soap Is Expensive
Handmade soap is expensive to make because production runs are very small and ingredients are expensive. You need a pot, measuring equipment, fats, lye, molds, safety gear, packaging materials, fragrances, oils, and lots of space. Those high costs are then passed onto the consumer by raising the price of every bar. Even making handmade soap at home can be expensive averaging a few dollars per bar for even a small batch when you factor in the cost of all the equipment.
How to operate after the manual soap into the mold
1. Heat preservation is only to assist heating and slow down cooling
If the soap is evenly enough, the collision rate is high, the saponization conditions are good, if there is milk added to the water phase, you can not heat preservation, because the milk will help heat up (where milk containing protein, goat's milk, breast milk, soy milk, etc.), heat preservation can be wrapped in towels, old clothes, blankets, etc., you can consider putting into the foam box.Heat is generally not required, otherwise it becomes another way of making soap - hot soap.
2. How to avoid white powder?
There are many causes of white powder, mainly soap in the reaction of sodium hydroxide and carbon dioxide in the air to produce sodium carbonate, can be covered or sealed on the surface of the soap mold plastic film.If you are not careful to grow white powder, even if self-use also want to repair, because sodium carbonate may also stimulate the skin.
3. Don't be in a hurry. You know you want to see the finished product
Can wear gloves demoulding, will not leave fingerprints on the soap body, demoulding time depends on the formula and the amount of water, sometimes 24 hours may not be demoulding, although the soap has solidified, but the soap body is still soft, at least 2~3 days to let the soap body hard and then demoulding will be relatively smooth and beautiful.
4. Timing of soap cutting and sealing
If you want to seal, you can decide whether to seal or not within a few days after you cut the soap according to the soft, hard and dry degree of the soap body. Because of the different temperature and humidity of the environment for airing the soap, you usually need to rely on experience to judge by yourself. If there is a soap edge, you can first use the soap edge to test the cover.However, due to the rapid saponification and high hardness of household soap, please cut soap and seal immediately after stripping.
5. The environment is very important
Manual soap is afraid of heat and humidity. Please choose a small confined space and try to keep the humidity below 50 degrees Celsius and the temperature below 30 degrees Celsius to air the soap. The drying period is recommended to be at least 45 days.
6. Soap wrapping
After the soap drying period, please wrap the soap to avoid anti-moisture of manual soap. It is recommended to choose a good dry weather and make sure that the surface of the soap body is dry before sealing the film.
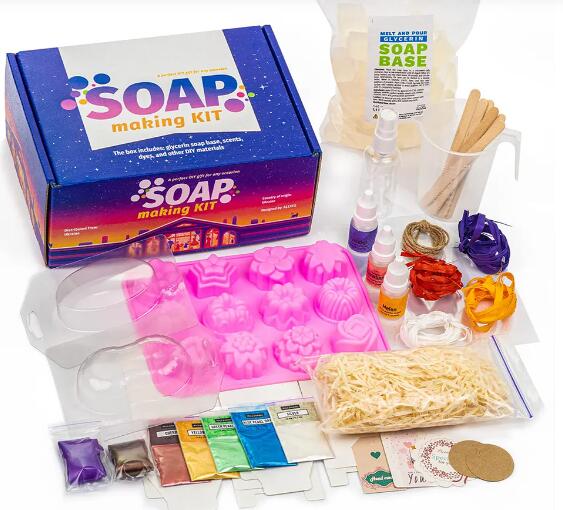
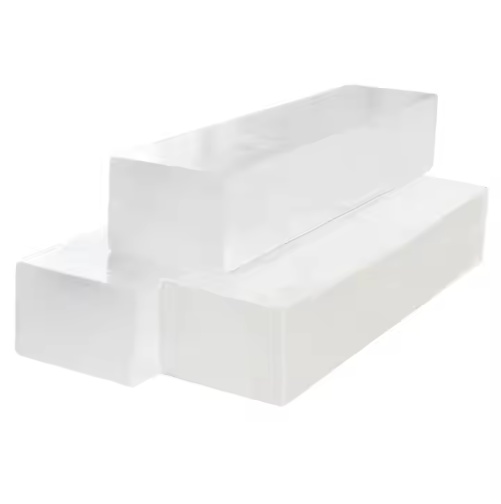
If you want to try homemade soap, you can click here, we have wholesale supplies of soap making kit.
How to store soap
First, the soap bars are constantly "curing" meaning they are continuing to harden and evaporate moisture as they age. This is a good thing, because it means that your bar will last longer if it has aged a bit more, and usually have creamier lather too, although it may have shrunk in size a little bit.
Since my bars have so many fresh ingredients and extra emollient oils, the best rule of thumb is to give it and use it within 6 months. Many will last a year, but to be safe, go fresh.
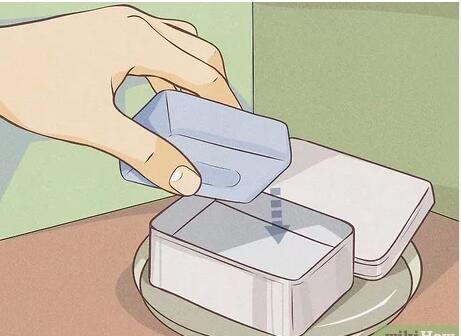
The best way to store handmade soap bars is tuck it into a drawer or linen closet shelf while it waits - that way you get nicely scented linens, towels (or undies!) as a bonus. Bottom line rules: nothing too warm, no direct heat or light, just a bit of air and quiet resting time.


