How to Make Cold Process Soap For Beginner
To learn how to make soap, first, choose from one of four methods. Two of the most popular methods are the "melt and pour" and cold process. The others are more advanced methods. Each method has pros, cons, and variations.
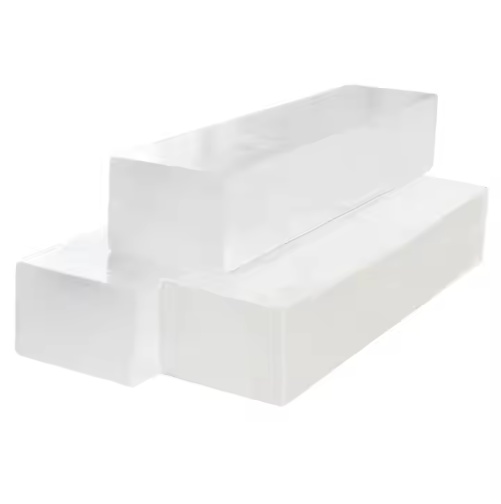
- Melt and pour: This easy process involves melting pre-made blocks of soap and adding your own fragrance.
- Cold process: The cold process is the most common method of making soap from scratch using oils and lye.
- Hot process: A variation of the cold process method, the hot process requires cooking the soap in a slow cooker or oven.
- Rebatching: This method grinds up and re-blends batches of poorly made homemade soap.
What Is Cold Process Soap?
Cold process soap is a time-tested method of soap making that combines oil or fat and sodium hydroxide lye at room temperature. The process can take a few days, but you're left with soap that is fragrant and potent.
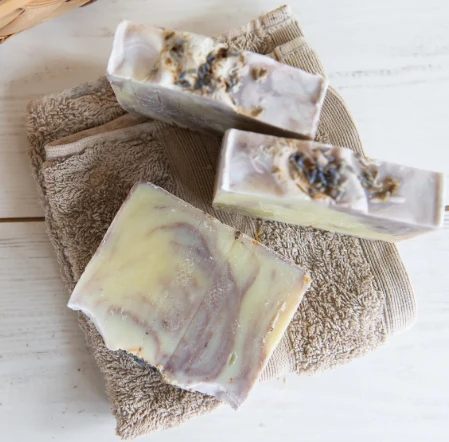
Homemade soaps using the cold process method make a great project for using an abundance of aromatic and antibacterial herbs such as rosemary, sage, thyme, and oregano. Rose and lavender add a soft scent, while citrus zest adds a zing. The cold process method is ideal for preserving the benefits of plant-derived oils and butters.
Tools and Materials Needed for Making Cold Process Soap
Make sure you have these materials and tools on hand when making cold process soap.
Materials
- Lye: Lye is an essential ingredient when making cold process soap, as it gives it a soft, smooth texture. Wear protective gear when handling lye and be sure to work in a well-ventilated area.
- Oils: Shea butter, argan oil, and olive oil provide a creamy lather for deep moisturizing of the skin. You can also add fragrance by incorporating cold-pressed carrier oils, but we advise using them sparingly—because the soap takes weeks to cure, the scent intensifies over time.
- Colorants: To color soap naturally, try clays and botanicals such as French green clay, rose kaolin clay, or indigo powder. Be sure to test the ingredients of your homemade soaps on a small area of your skin first to make sure that you are not allergic.
Tools
- Digital scale: This will ensure ingredients are measured precisely (especially the lye); otherwise, you may not craft a balanced bar of soap. Additionally, all ingredients should be measured by weight rather than volume since inconsistent measurements will yield unreliable results.
- Candy thermometer: A thermometer works well to measure the temperature of the lye solution and oils.
- Heatproof containers: Use stainless steel, high-density plastic, or enamel-lined containers for mixing water and lye. Aluminum or nonstick surfaces tend to react poorly with lye.
- Spoons and spatulas: These tools work well for mixing, while a bench scraper or serrated knife will cut your homemade soap into smaller portions.
- Molds: Use silicone baking molds to give your soap its shape. Silicone is great because you can easily bend it to pop out the soaps. Note: silicone often retains moisture, so keep in mind that homemade soaps may have to rest for a few extra days before being removed.
How to Make Cold Process Soap
This is a base recipe only. The step-by-step instructions for individual projects may vary. Before you begin, assemble your ingredients—also, gather safety gear such as goggles, gloves, and long sleeves. Cover your work surface with newspaper.
- Weigh the lye in a heatproof container. Weigh water in a separate container. (Note: A lye calculator is handy here: simply enter the oil weight or percentage, and the tool will provide the lye and liquid amount needed for the recipe.)
- Next, carefully pour the lye into the water, stirring gently with a heatproof utensil until the lye has fully dissolved. Set aside, and let cool for up to an hour.
- While the lye solution is cooling, weigh oils or solid butters. Melt with a double-boiler until up to 100 degrees Fahrenheit.
- Pour the lye solution into the container of oils. Stir until trace is reached. (Trace refers to the point when the oils and lye solution have emulsified. At this stage, there should be no streaks of oil, and the soap will have the consistency of batter.)
- Add any extra ingredients—such as natural exfoliants or colorants—stirring to combine.
- Carefully pour the melted soap into the mold. (The soap is still caustic at this stage, so keep your safety gear on when handling.) Cover the mold with a sheet of paper. To retain heat, wrap a towel around it. Set aside for up to two days or until completely cool and solid.
- When ready, remove soap from the mold and slice it into bars. Let the bar soaps cure in the open air for at least four weeks before using.
Above a few simple introduction, will accumulate and summarize, and then play their imagination, try, you will have more harvest!
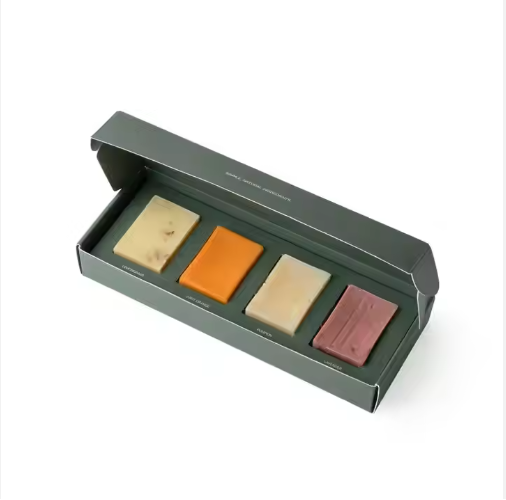
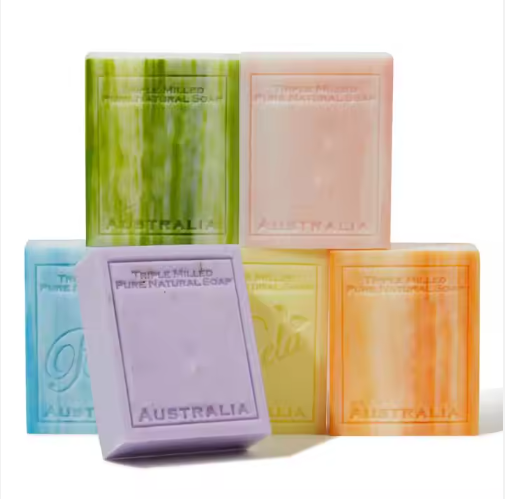
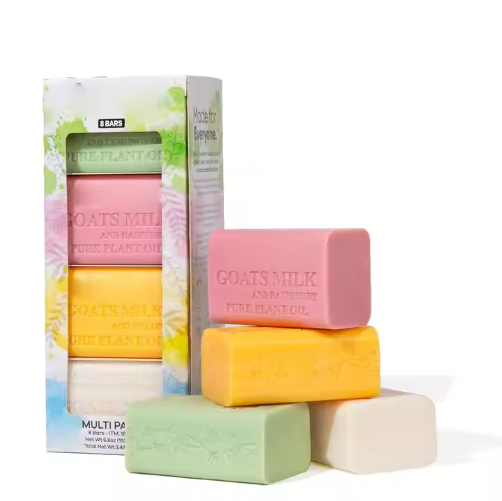
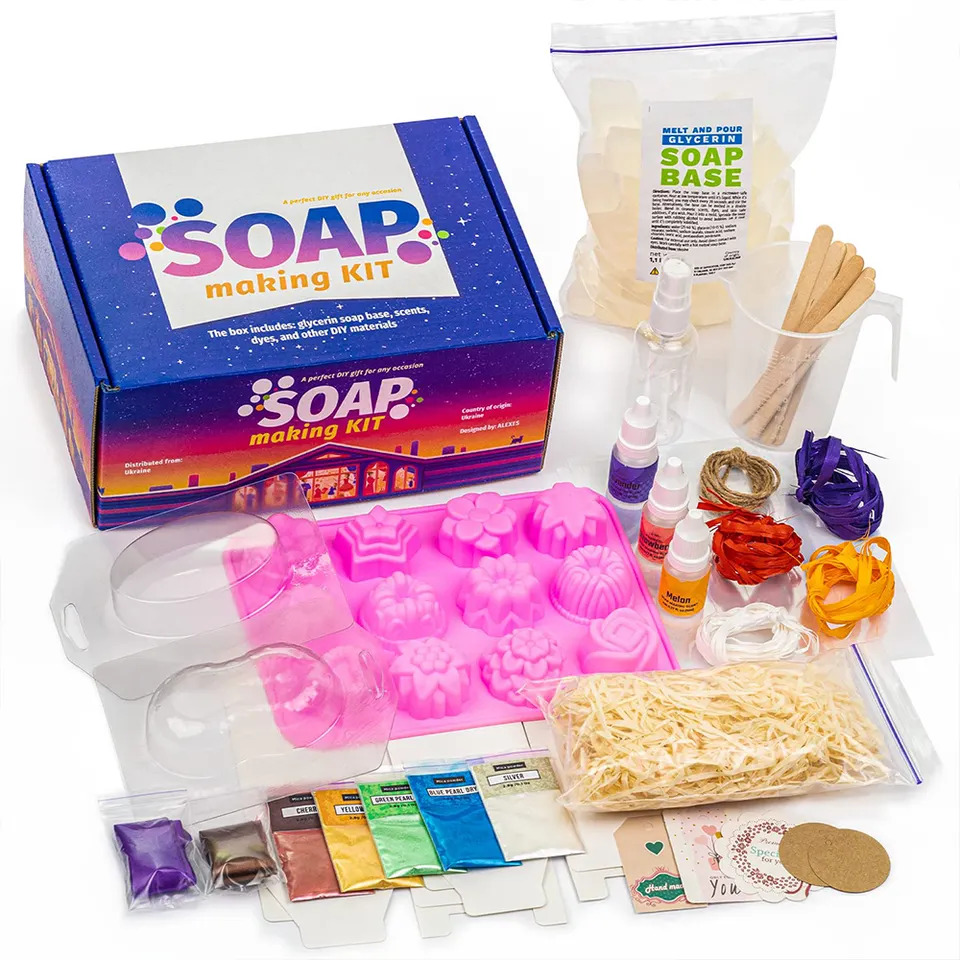
If you want to make your own Handmade Soap at home, then you'll need this Soap Making Kit
Where to buy it? You can click here!


